Image source: https://support.apple.com/library/content/dam/edam/applecare/images/en_US/iOS/ipad-iphone6-ios9-airdrop-hero.jpg
Where to Find AirDrop?
To use this tool, first you need to open AirDrop on your Mac. You can open it from the Share menu and also from the Finder. Once you open the tool on your system, it will automatically look for nearby devices that are having an opened AirDrop window. You can use this tool not just to send files to other Mac device but also to iOS devices. But for that your computer must run on Yosemite Mac OS X and the receiving iOS device should have on iOS 7 or a later version. If your Mac doesnt have Yosemite but has OS X Lion or later versions, then your AirDrop can send files only to other Mac system that is within the 30 feet range.
To use this tool, it is essential that you should be able to see your recipients device icon on your AirDrop window. If you can see your recipients devices icon on your AirDrop window, then you will be able to send and receive files easily.
How to use airdrop on Mac: Sending Files
Open Finder.
Then, select 'Go > AirDrop.
Once the AirDrop window opens, you will be able to see the nearby devices (within 30 feet) that can accept files sent from your Mac.
Keep that window open, and then drag and drop the files onto the icon of the device to which you want to send the file.
Then, click Send.
Possible Problems in Using AirDrop on Mac
It might happen that in the AirDrop window you dont see the receiving device. In that case, you wont be able to transfer files.
To troubleshoot this problem, you can try out the following tweaks:
Confirm that the AirDrops window is open on the recipients computer
Make sure that Wi-Fi and Bluetooth are enabled on both the devices
Make sure that both the devices are within the distance of 30 feet
Check and confirm that in both the senders and recipients devices the visibility option is set to Everyone or Contacts only.
Using AirDrop on Mac: Receiving Files
Receiving the files is very useful if you are using AirDrop between Mac and iPad/iPhone, and both the devices are using the common iCloud account. As a result, the sent files will get automatically received on the recipients device.
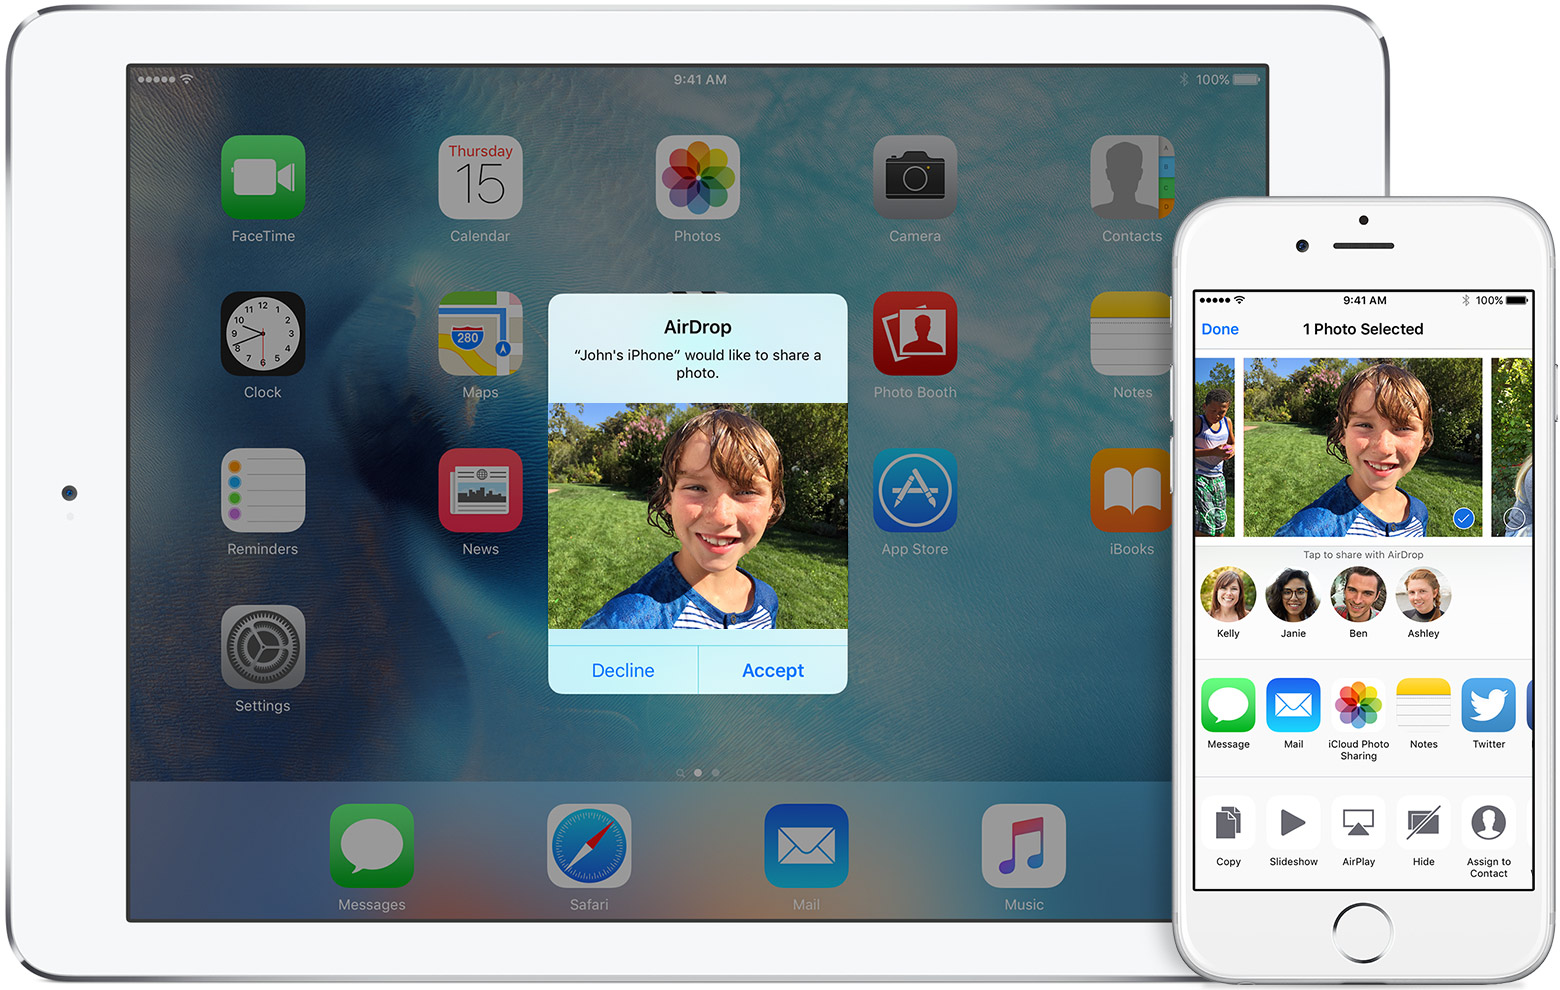
But, if you are sending files to iOS devices connected to different iCloud accounts, then the recipient has to accept the incoming file.
The recipient will get a notification about an incoming file.
The recipient first needs to accept the incoming file, and then only the file transfer takes place.
After accepting the invitation, the recipient has to click Save.
Then, the incoming file will get saved in the Downloads folder.
In case of iOS device users, the file will get downloaded in respective folders. For example, photos get downloaded in the Pictures app.
Conclusion
With these steps, you have learned how to use AirDrop on Mac for sending and receiving files from other Apple devices. If you are using Mac OS X version below Yosemite, then you can share files only with Mac systems and not iOS devices. But if you are a Yosemite user, then you can send and receive files from Mac as well as iOS devices, but only iOS 7 and above versions.
